Curtis.Castiglione@ROzebra.com

2021 Chevrolet Trailblazer Rear-Corner Collision Repair Guide
If you have backed your 2021 Chevrolet Trailblazer into a post or were struck in the rear corner by another vehicle, your first instinct might be to breathe a sigh of relief. From the outside, the damage may look like nothing more than a cracked tail lamp and a scuffed plastic bumper.
However, in the world of modern collision repair, the minor fender bender is a thing of the past. The 2021 Trailblazer is a sophisticated piece of engineering that uses high-strength steels and integrated electronics to manage impact energy. What looks like a simple cosmetic fix often hides structural and electronic complexities that can lead to expensive surprises during the repair process.
The Deception of the Plastic Bumper: Hidden Damage
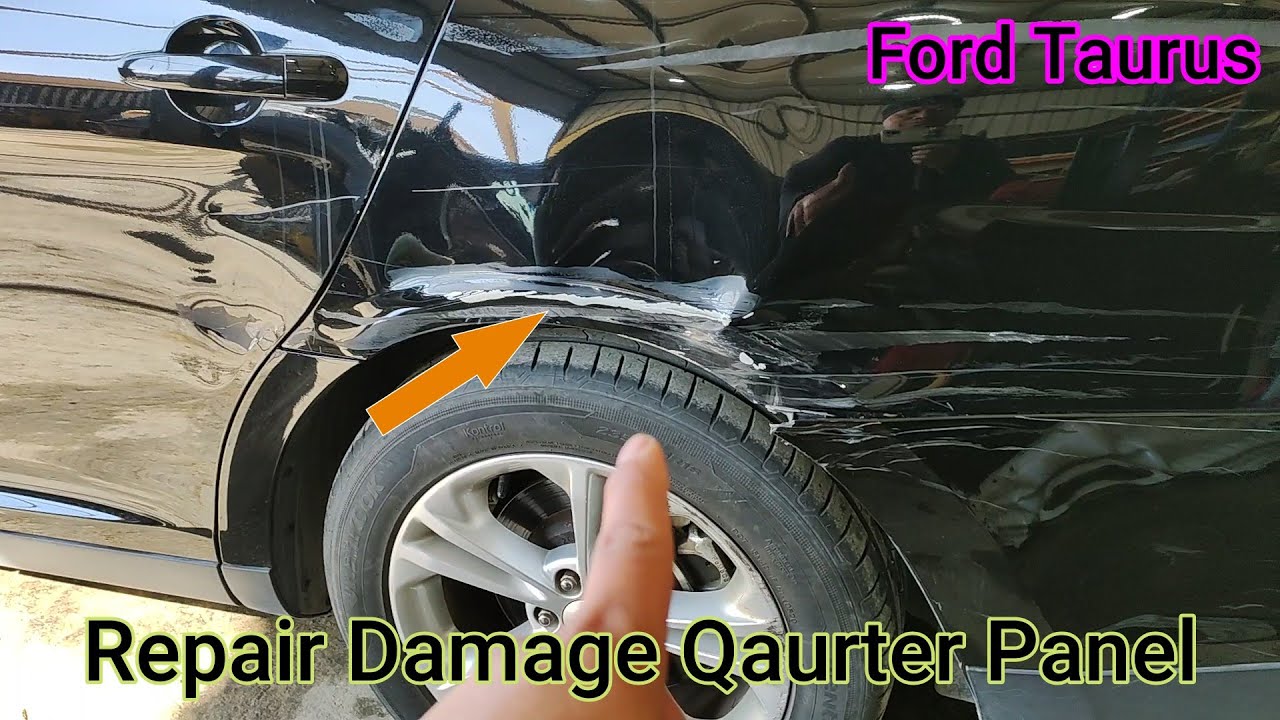
One of the most common questions owners ask is why an estimate doubles once the shop starts working. The answer lies in the physics of modern plastics. The rear bumper cover on your Trailblazer is designed to be flexible. In a low-speed impact, the plastic often compresses and then pops back into its original shape. While the exterior plastic looks fine, the components underneath—the bumper reinforcement bar, the mounting brackets, and the rear body panel—stay bent.
The Teardown and Supplement Process
Most initial insurance estimates are written based on a visual inspection of the fully assembled vehicle. This is known as a preliminary estimate. It is almost never the final bill.
Professional repair facilities perform a teardown (disassembly) to inspect the mounting points for the rear body. If they find bent brackets or crushed energy absorbers, they submit a supplement to the insurance company. This is a standard request for additional funds to cover the damage that was not visible on day one.
The Liftgate and Tail Lamp: A Game of Millimeters
The rear corner of the Trailblazer is a critical junction where the quarter panel, the tail lamp housing, and the liftgate opening meet. A hit to this area can shift the vehicle geometry in ways that are not immediately obvious.
- Gap Analysis: Technicians must measure the gaps—the space between panels. If the gap on the left side of your liftgate is wider than the right, the rear structure has shifted.
- Sealing and Latching: If the liftgate opening is distorted by even a few millimeters, the liftgate may not latch properly, or the weather stripping will fail to compress. This results in wind noise or, more commonly, water leaks.
- Structural Pulling: If the sheet metal at the tail lamp mounting point is pushed in, a shop might just try to bolt a new lamp on. However, an authoritative repair requires a technician to use a frame rack to pull the metal back to factory specifications so the lamp fits flush and the seals are tight.

Sensors and ADAS: The Invisible Repair Costs
The 2021 Trailblazer is frequently equipped with Advanced Driver Assistance Systems (ADAS). Depending on your trim level, the area behind your rear bumper cover may house:
- Ultrasonic Park Assist Sensors: The small circular sensors visible in the bumper.
- Blind Spot Monitoring Radar: Units mounted behind the bumper corners that look through the plastic.
Even if these sensors are not physically broken, the brackets holding them may be slightly tilted. If a blind-spot sensor is misaligned by just one degree, its field of vision could be off by several feet at highway distances.
Calibration is mandatory. General Motors requires these systems to be electronically calibrated after a collision or if the sensors are removed and reinstalled. This requires specialized diagnostic tools and software, often adding several hundred dollars to your repair bill. Insurance typically covers this, but it is a frequent point of discussion between shops and adjusters.

OEM vs. Aftermarket Parts: What Does Your Policy Say?
When you receive your estimate, you will likely see terms like LKQ (Like Kind and Quality/Recycled) or A/M (Aftermarket).
- Insurance Reality: Most standard insurance policies allow the use of non-OEM (Original Equipment Manufacturer) parts to keep costs down, especially on vehicles that are a few years old.
- The Fitment Issue: While aftermarket tail lamps or bumper covers are cheaper, they may not always align perfectly with the Trailblazer factory body lines.
- Your Choice: You generally have the right to insist on OEM parts, but if your policy specifies aftermarket parts, you may be responsible for the price difference out of pocket. Review your policy’s parts section or consult your agent to see if you have an OEM parts endorsement.
The Post-Repair Nightmare: Water Intrusion
The most common comeback for a rear-corner collision is a wet trunk floor or a musty smell. During a collision, the seam sealer—the waterproof caulk used between metal panels—can crack.
If the technician does not meticulously re-seal the tail lamp pockets and the rear body seams, water will eventually find its way into the spare tire well. This is a critical post-repair concern because water intrusion can lead to mold or electrical corrosion weeks after you take delivery of the vehicle. Always ask your shop if they performed a water test after the repair to ensure the liftgate and lamp seals are watertight.
Total Loss and Diminished Value
Because the 2021 Trailblazer maintains a solid resale value, it takes significant damage to total the vehicle. However, if the repair cost reaches 60% to 75% of the vehicle’s value (depending on state law), the insurer may declare it a Total Loss.
If the vehicle is repaired, it will likely have an accident history on reports like CARFAX. This can lead to Diminished Value—the difference between what your car was worth before the accident and what it is worth now with a damage history. Whether you can claim diminished value depends on your state’s laws and whether you were the at-fault party.
Practical Steps for the Vehicle Owner
- Don't Settle for the Drive-In Estimate: Insist that the shop performs a teardown before the insurance company finalizes the repair cost.
- Ask About Calibrations: Ensure the shop plans to perform a pre-repair and post-repair diagnostic scan of your ADAS systems.
- Check the Gaps: When picking up your car, look at the spacing around the liftgate and tail lamps. They should be uniform on both sides.
- Review Your Policy: Understand your out-of-pocket responsibility for parts and your rental car limits, as backordered parts can often extend repair times.
Disclaimer: Insurance policies and state laws vary significantly. Always review your specific policy and consult with your insurance company or a qualified collision professional regarding your repair.



No Comments Yet
Be the first to comment on this article.